- Mar 27, 2019
How to Master Low Light Photography
- Laurie Flickinger
- 0 comments
Do you find yourself putting your camera away when there aren’t windows full of light spilling into a room? Low light photography may seem intimidating but actually it is fun to embrace the shadows and shoot in different light conditions.
Updated: May 16, 2019. This post contains affiliate links.
Low light photography is so much fun and isn’t as intimidating as it may first look. My first exposure to shooting in low light came about when I was shooting daily for a 365 project a few years ago. I would forget that I hadn’t taken a picture for the day and would freak out when I had nothing but darkness to shoot in. Or even worse, artificial light. Here’s how I would embrace the indoor natural light photography when I had it.
ISO 3200 f/2.8 1/20 (iPad light)
How Do I Expose for Low Light Photography?
This part really freaked me out. When I was studying low light photography images, I saw an image that looked as if it were exposed perfectly for that particular lighting situation.
Using technical terms, the image appeared “underexposed” so that the image SOOC (straight out of the camera) would match what the naked eye could see. The image of a subject in dim light had the surrounding areas cloaked in darkness too.
To underexpose or not?
It took me a minute to realize it, and I’m pretty sure the instructor had to explain it to me more than once, but that isn’t exactly how low lighting imagery works. I’m sure people do shoot in that way and it may work well for them, but for me, it didn’t quite work that way and it took doing for it all to actually click.
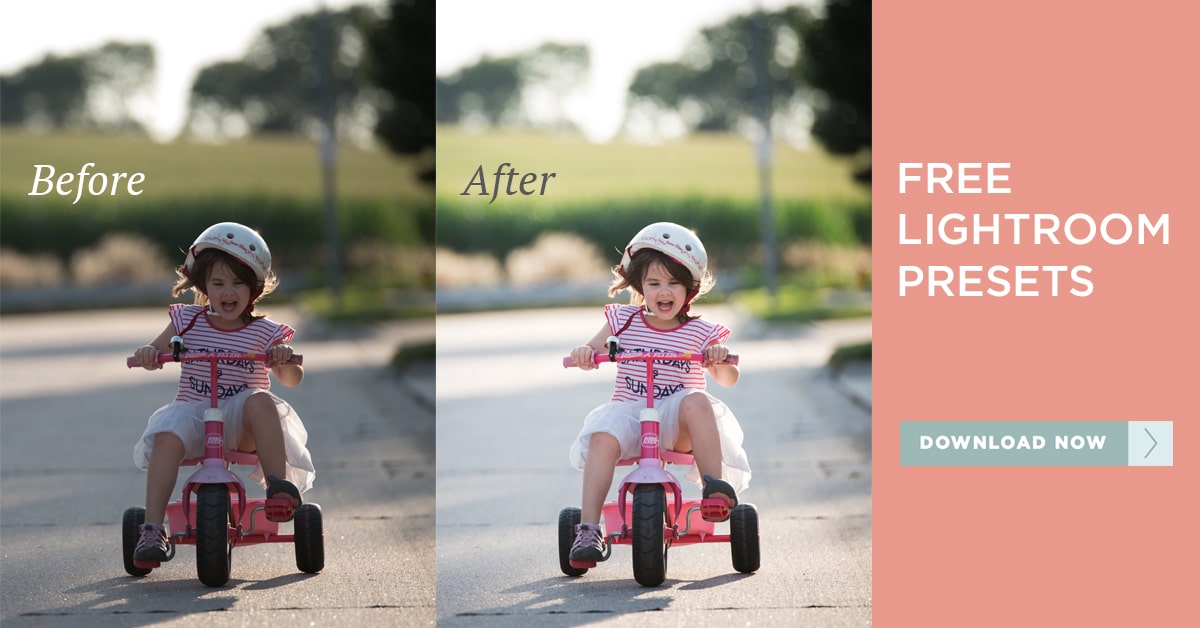
And it was very confusing for me to see an “after” image and imagine the way that it was actually shot. Or maybe I just have a thick skull. Either way, I’m going to try to put it simply. Shoot as if your are shooting in day time! And for those of you who need a visual (like me)…here is a before and after to give you a better idea.

Use the light you have available
When we first start photography we are looking for bright airy spots to take our photos. We focus on rooms full of light and don’t find the joy in the shadows. However, as you grow in your photograph you will notice that you may be drawn to shadows and low light situations.
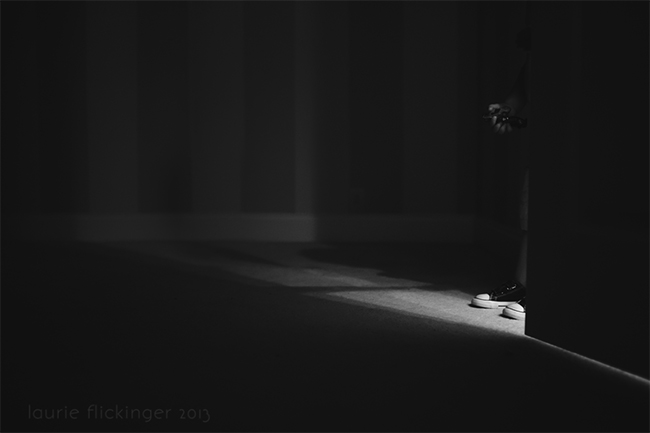
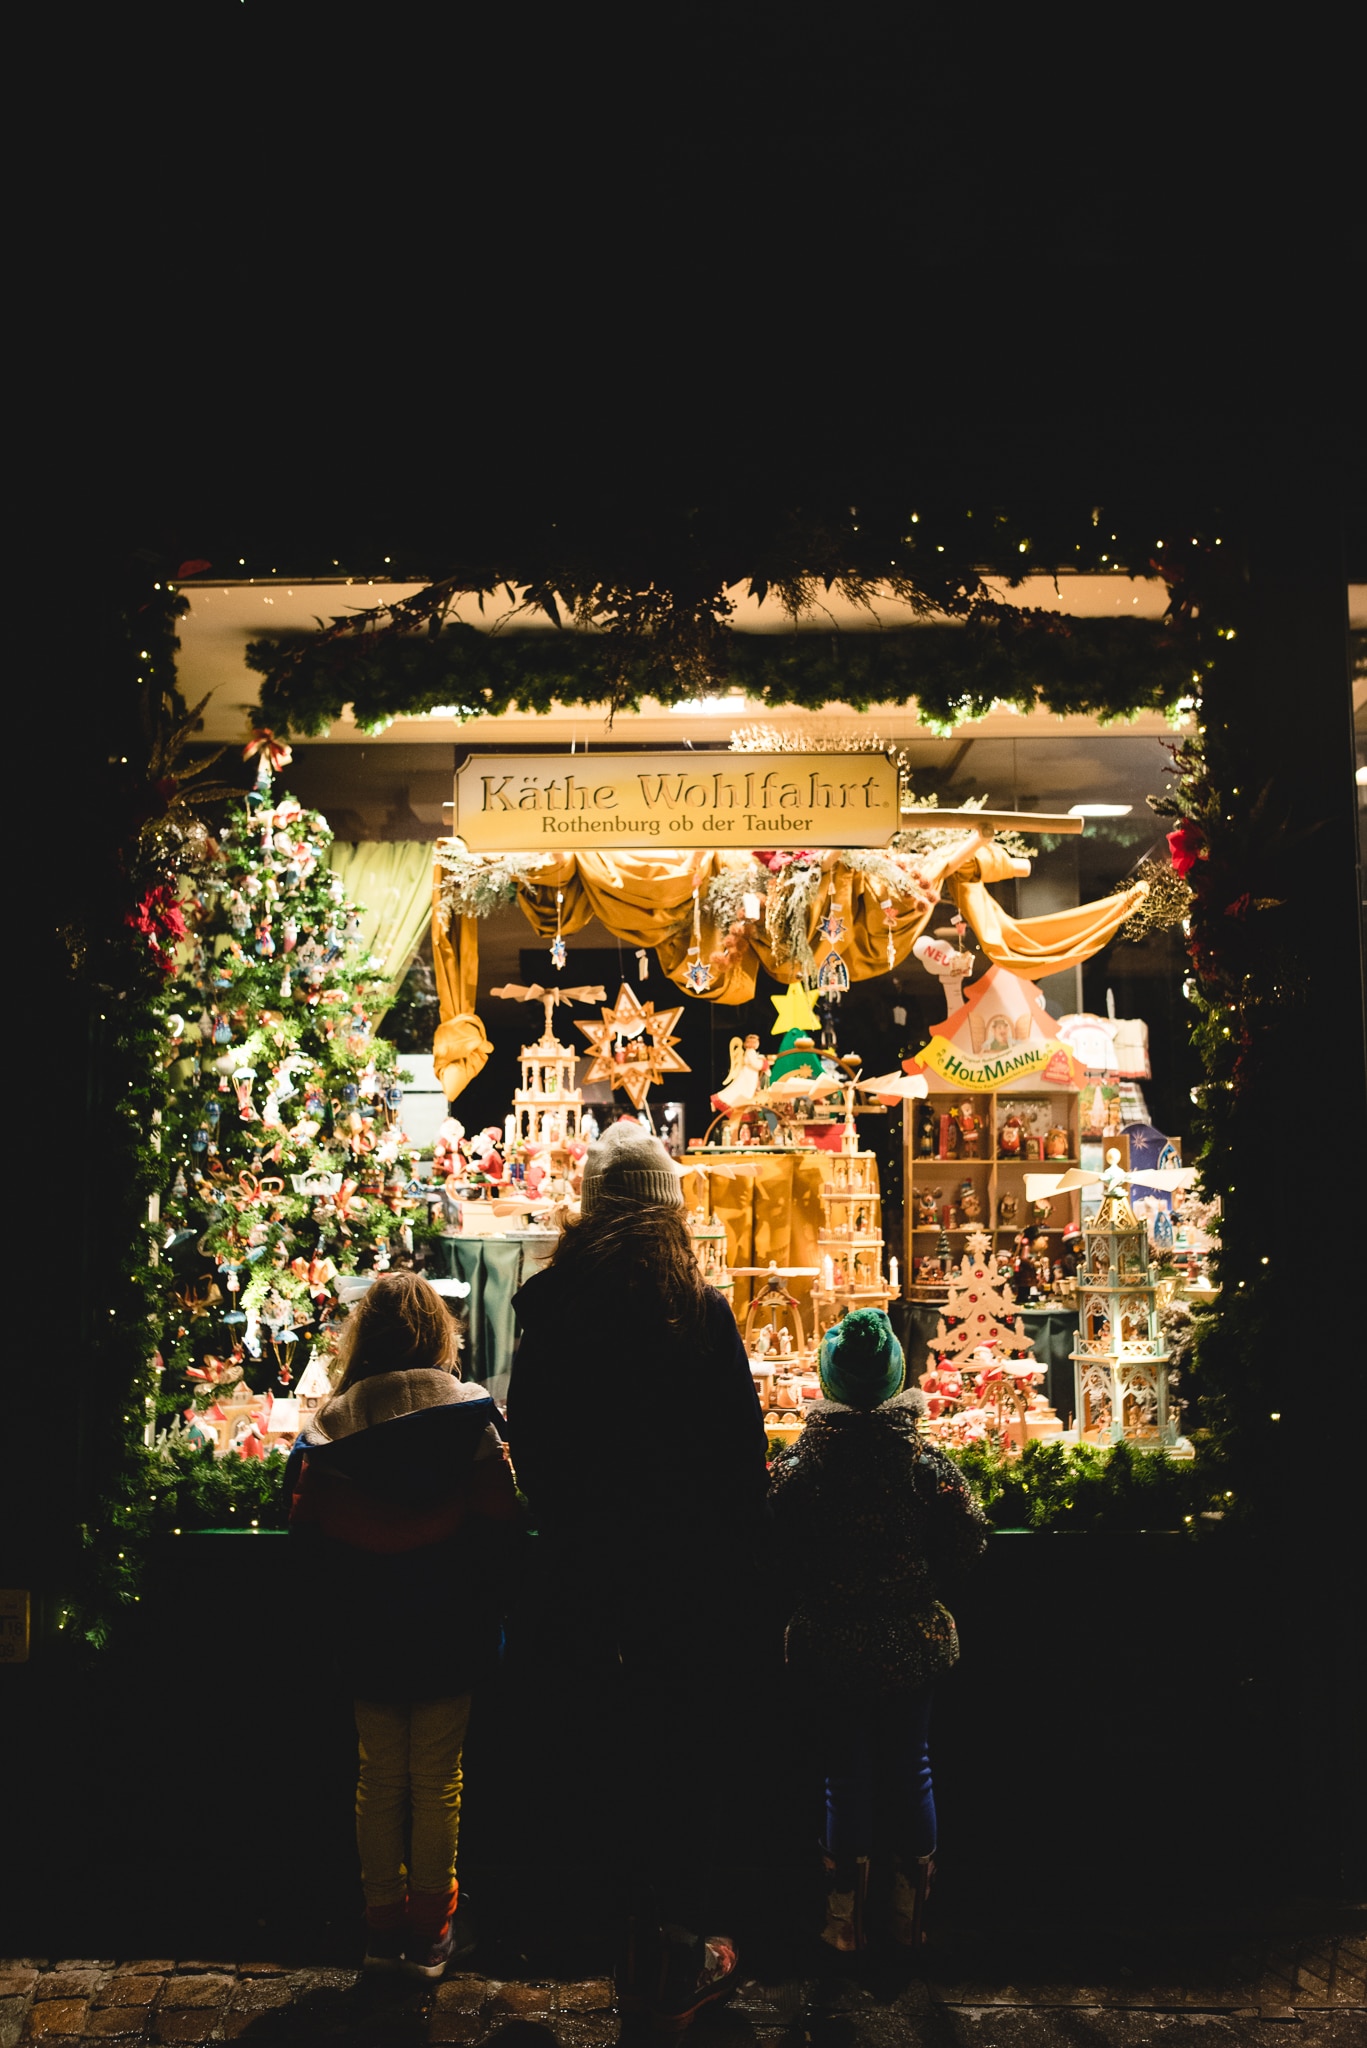
I look for pockets of light and sometimes will ask my subject to hop over to those little pockets. Embracing the shadows in shooting in low light can tell a very different story than a brightly lit image.

ISO 560 | f/3.2 |ss 1/125
Low light photo examples

And because I can never choose between color and B&W. :) Here are both!
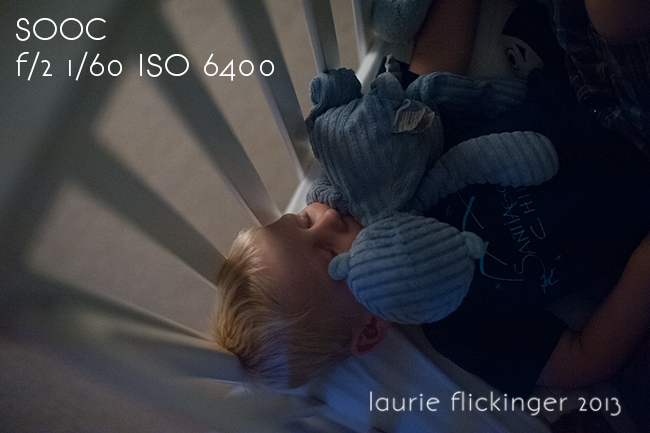
Here is another SOOC. The scene is a bit darker than the previous image. I shot with a wide aperture to capture more light. I was standing on the crib, I believe for this shot, so I kept my SS a little faster because I was doing a little balancing act to get this one.
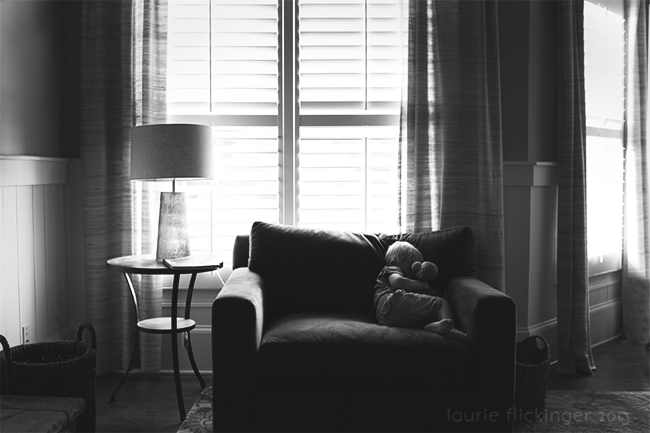
This is the final image and more like what I had envisioned when shooting the image.

How to adjust settings for low light photography
So, when I said, shoot as if it’s daytime, I mean shoot normally! Nothing has changed other than the amount of light in the room.
Is your subject a person? Spot meter off of the skin and expose how you normally would. The SOOC shot may look nothing like how it looks to the naked eye, but it will be properly exposed. Using the Zone Method, and spot metering, that would be placing the skin somewhere around +1 for a caucasian subject. Notice how the before images are much brighter than the after images.
Expose the image properly
Exposing the image properly in the beginning will give a much better end product. I also tend to expose to the right in any given lighting situation, which is really slightly overexposed. More often than not, I bring exposure down in post processing even in normal lighting situations.
By doing so, I am packing as much information as I can into the raw file so that I have more to work with when I edit. This is doubly important when shooting in low light. Remember, you can always bring the exposure down without losing information. Brightening an underexposed image will result in lots of grain/noise. And not the pretty kind.
By exposing as you normally would in a much brighter lighting situation, you are protecting your skin tones and decreasing the amount of grain overall in the image.
Watch your shutter speed
The amount of lighting in the room looked pretty close to what it looks like in the final image. I overexposed in the SOOC shot to minimize the amount of noise. You’ll also notice that I use a slower shutter speeds when shooting in low light. I’m aware of that, and do keep an eye on the shutter speed. Test your own limits and know how low you can go without camera shake.
If you need a faster shutter speed, that’s okay! I could have bumped the ISO to 6400 and in turn moved my shutter speed to 1/40, but honestly it wouldn’t have made much of a difference either way. I am pretty steady at slow shutter speeds, my subject wasn’t moving, so I made a decision to choose decreased noise over a slow shutter speed.
Keep an eye out for unintentional motion blur when using a slower speed and photographing children.
Children can also benefit from this fun skill, read more: Photography for Kids
Raise your ISO
If you find that your shutter speed is too slow, less than 1/100 and you are creating camera shake or motion blur you can always raise your ISO to allow you to use a faster shutter speed.
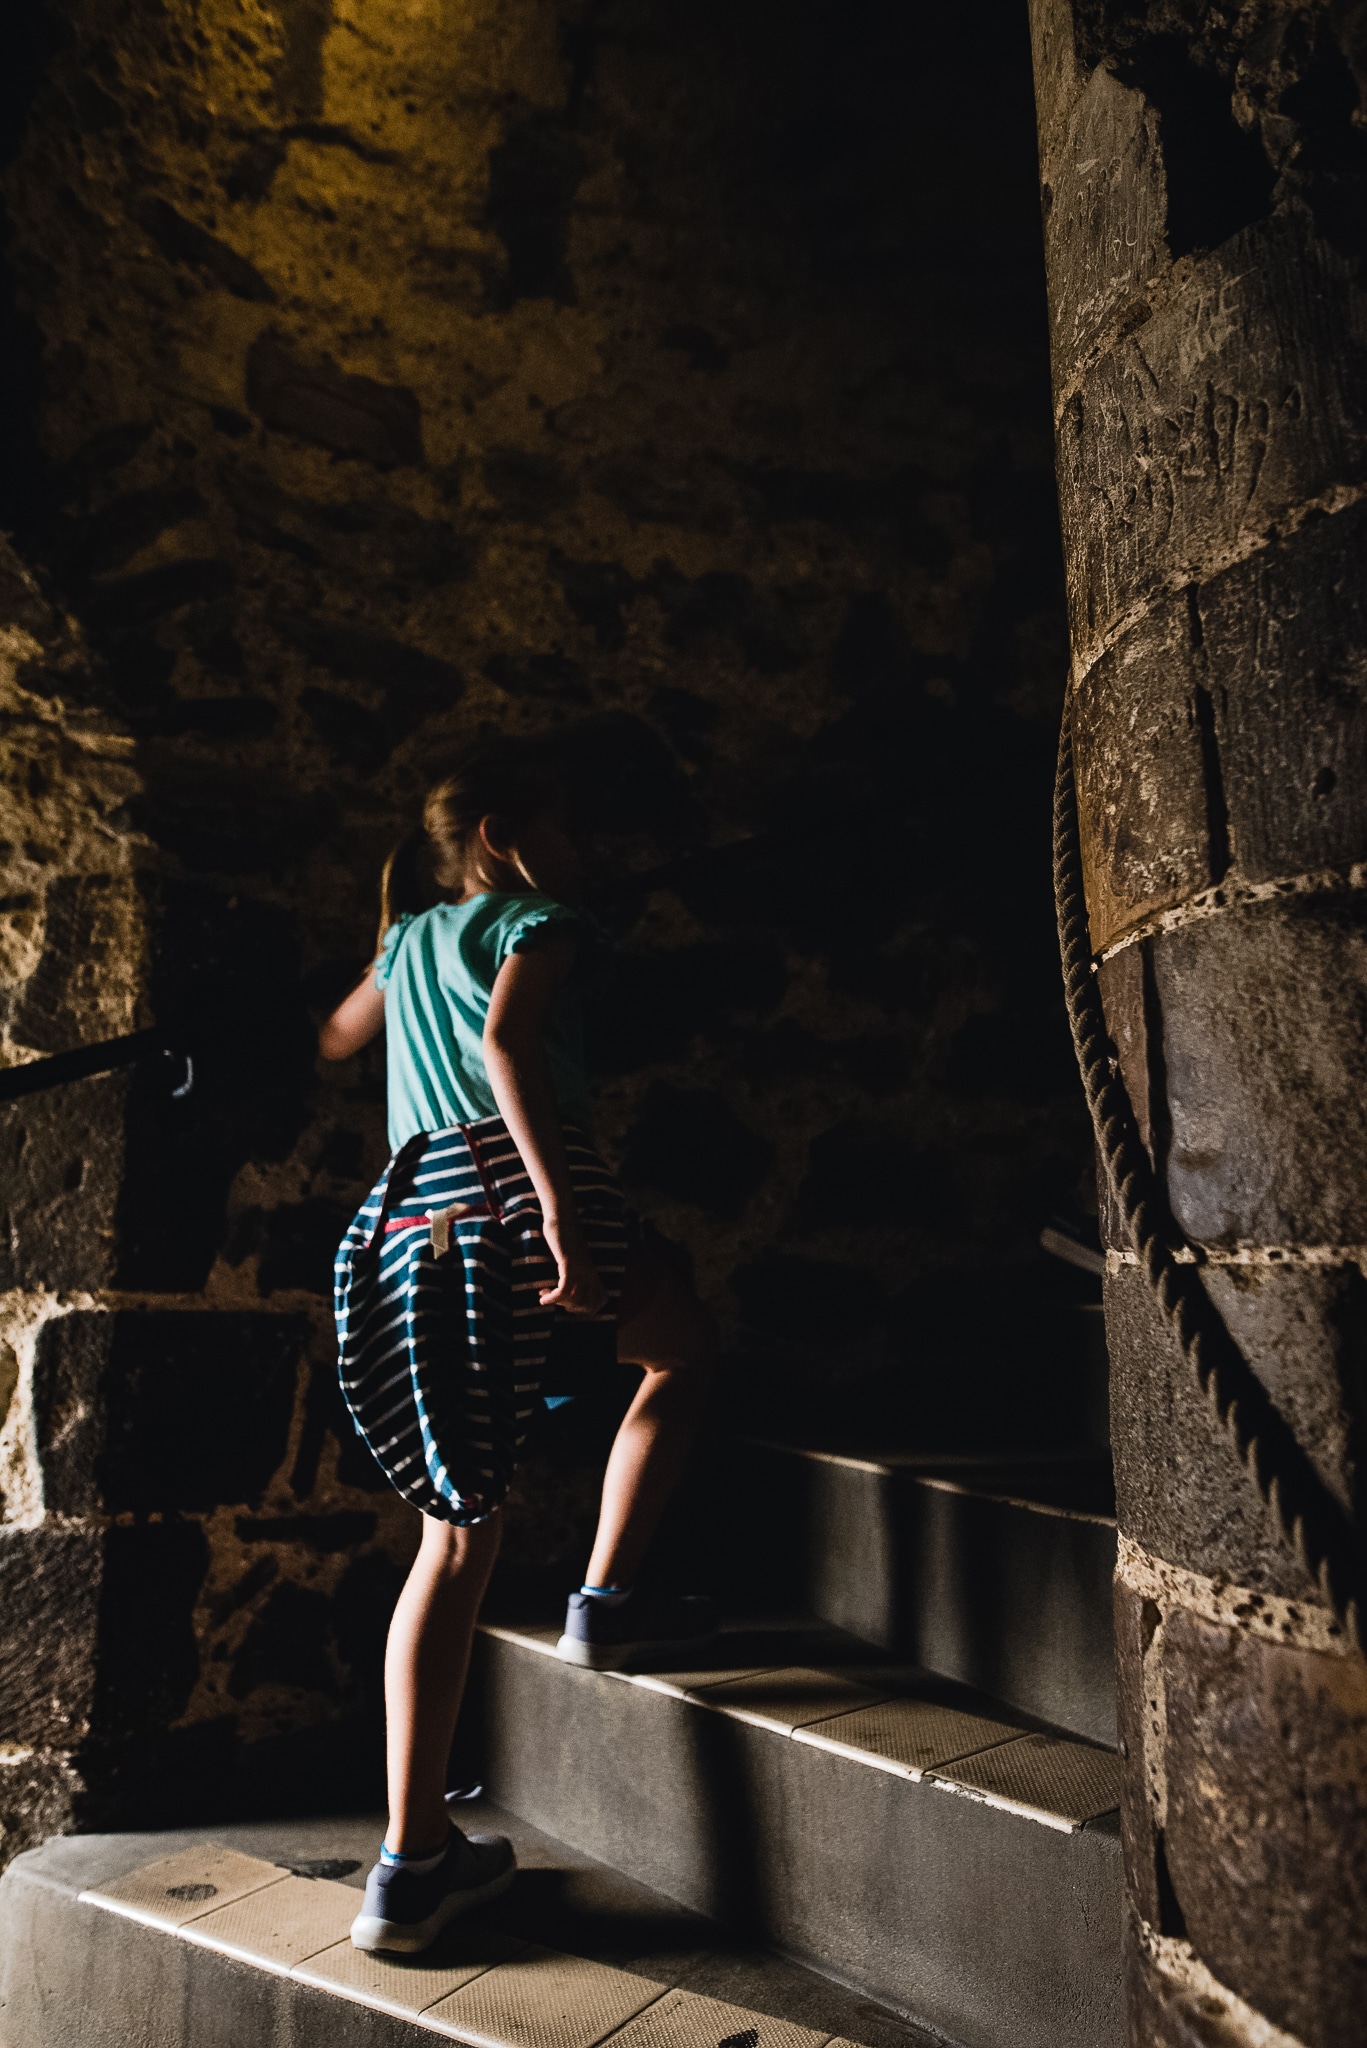
ISO 1600 | f/3.2 | ss 1/320

Adjust your White Balance
Again, shoot as you normally would! Consider your light source. Do you use Kelvin? Dial in the correct temperature and shoot away. I use an ExpoDisc the majority of the time. I set my exposure, cover the lens with my Expodisc, point my camera toward the main light source and set a custom white balance (CWB).
Now, I’m ready to start shooting. Setting a CWB and exposing skin properly will give beautiful skin tones, even in low lighting. If your image is underexposed, your skin tones will likely be a mess, and require more time in post processing. Okay, this image probably isn’t the best example of skin tones, but this was a creative choice to maintain a warm glow due to the candle light.
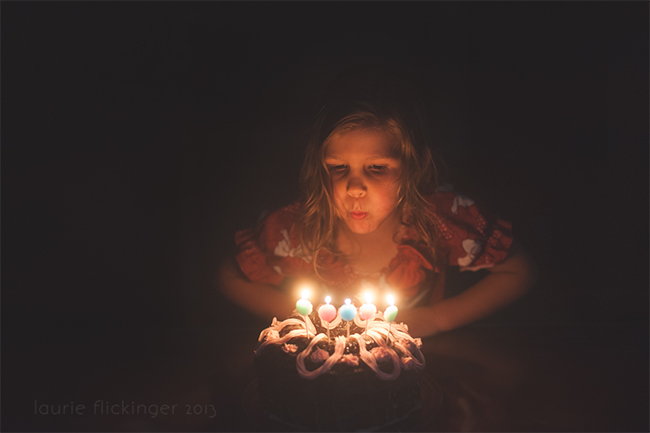
ISO 3200 f/2 1/100
Here’s another example
ISO 3200 | f/3.2 | SS 1/1000
What about Grain or Noise in Low Light Photography?
The best way to minimize grain is to ETTR (expose to the right). ETTR simply means overexposing, and checking your histogram and blinkies until important areas in your image begin to blow. Next, take the exposure down by 1/3 stops until those areas are protected (or not blown but on the verge of blowing).
For example, if exposing for skin, overexpose until the brightest area of the skin has blinkies. Then bring exposure down by 1/3 of a stop at a time until the skin is not overexposed. The image on your LCD will likely look brighter than the image you are envisioning as an end product, but this technique will help minimize grain as much as possible.

ISO 5000 f/1.8 1/100
Editing for low light photography
Editing for low lighting photography also threw me for a loop. Seeing a properly exposed image that appeared as if it was taken in a much brighter lighting situation made it difficult for me to “see” the image that I had in my head while actually recreating the image.
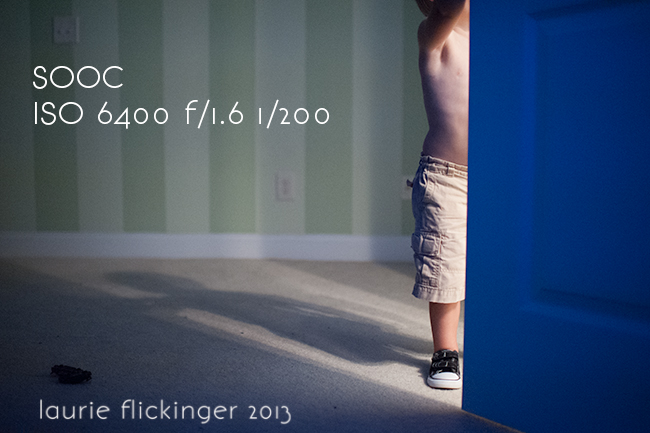
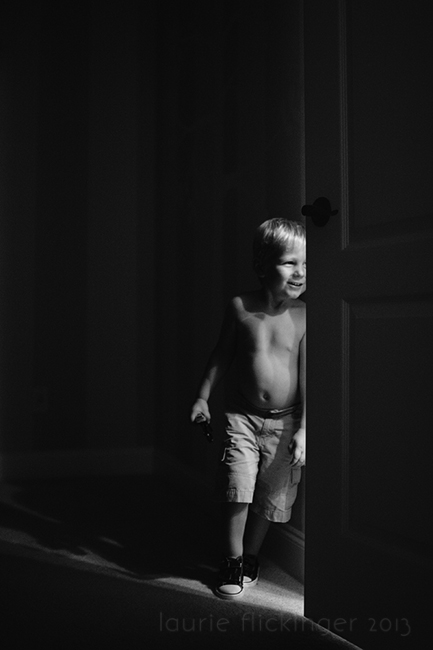
But, really, in Lightroom or Photoshop is where the magic all really happens. So in this image, I exposed for my son’s chest, the brightest area of the image. I used my ExpoDisc and did a CWB off of the lighting coming from the bathroom (very yellow). There was a little bit of ambient light coming in from the windows in the room. The difference in the lighting temperatures caused the door to look really blue, as well as the shadows in the SOOC image.
Notice how you can see the grain in the SOOC image. When I bring the exposure down, the noise/grain is much, much less noticeable. This is an example of how ETTR can minimize noise in your images when shooting in low light.
Before:
Experiment with your editing
Don’t be afraid to lower the exposure. That sounds like a really silly statement, but I had a hard time pushing the image in the direction that it needed to go. Now is the time to make the image look as it did the eye (and better). Lower the exposure until it looks more like you had envisioned. Then play with the tone curve to even further your vision. I tend to deepen the shadows even more and brighten the lights a tad for more contrast.
While still in Lightroom, I decreased the exposure to look more like I had imagined. The white balance is a mess from the mixed lighting, so I decided not to change that and instead convert to black and white. Once in Photoshop, I cleaned up my background using the clone stamp. Next, I played with a curves layer until I liked the contrast of the image, added a matte finish in levels. Last, I sharpened and saved.

Beware when sharpening a low light photography image. Due to the nature of this type of image, especially if if hand held and relative short exposures, there will likely be some degree of noise/grain. Sharpening the overall image will accentuate that. I choose to only sharpen select areas of the images. In this one, I only sharpened his shorts.
Avoid trying to change what the image looked like
As I mentioned above when you are starting out you want bright photos. I have been guilty of editing an image in post processing to look brighter than it was when you took the shot.
Part of embracing low light photography is carrying out from start to finish. That means exposing properly all the way through to editing it for the light you had.
It will take time for your eye to get used to seeing your images appear “underexposed” but that isn’t really the case because as long as the areas that the light hit are exposed properly you don’t need to worry about the shadows.
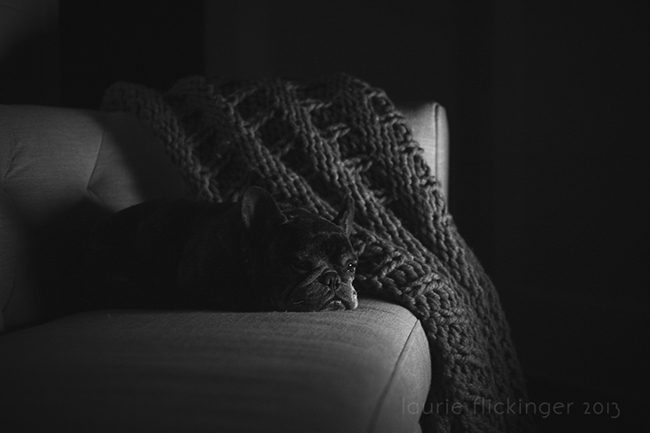
Below is an image of an example of a low light situation where I could have bumped up the exposure in Lightroom to make it look like this was shot midday but it wasn’t. I wanted to keep the feel of the sunsetting and the mood of the image as it was shot and intended to be seen.
Read more: Easy Steps to Create a Starburst Photography Effect Day or Night

ISO 1600 | f/14 | ss 1/640
Hopefully I have answered some questions about low light photography. Leave any additional questions in the comments and I’ll do my best to answer them!
Best lens for low light photography
Since you are shooting in low light which means you will need to adjust your settings accordingly it’s important to be shooting with a good lens for low light photography.
I don’t recommend the kit lens that comes with your camera because the aperture only goes as wide as f/3.5. That usually isn’t wide enough to bring in as much light as you need. I don’t worry about the focal length as much as I do how wide the aperture can go.
For this reason, I recommend shooting with a fast lens and by that I mean one with a smaller aperture number. Look for a lens that can go as wide as f/1.8 like the 50mm 1.8 or 35mm 1.8. I personally love my Sigma 24mm 1.4 as well. If a lens that goes as wide as f/1.4 is in your budget go for it. It will bring in more light and will help you get a properly exposed image.
Read more about low lighting photography
– Creating dramatic light in small places
– Dramatic lighting: Start to finish
– 6 Tips for night photography
The post How to Master Low Light Photography appeared first on Click it Up a Notch®.