- Aug 15, 2019
How to Make DIY Photo Coasters
- Guest Post
- 0 comments
These resin photo coasters are a perfect gift for almost anyone in your life. What grandmother wouldn’t love a set of DIY photo coasters with her grandchildren on them? What mother wouldn’t love a set of coasters with her children’s drawings on them?
Easy to make DIY photo coasters
They are easy to make, great gift ideas, and don’t take much in the way of materials! The total cost for a set of 8-10 DIY photo coasters would be less than $10, with plenty of resin to spare to make more. The resin gives the coasters an almost glass-like appearance which makes them super shiny and highly durable. You can always put photos on glass as well.
You can make them with your children’s drawings, your favorite photographs or even memorabilia such as ticket stubs or newspaper clippings. If it’s the latter, or your children’s drawings I’d suggest scanning them and getting them printed on photo paper because once it’s put in the resin you’ll never get them out again. The glossy coating of the photo paper works well with the resin. Pretty much anything flat that’s printed on glossy paper will work.
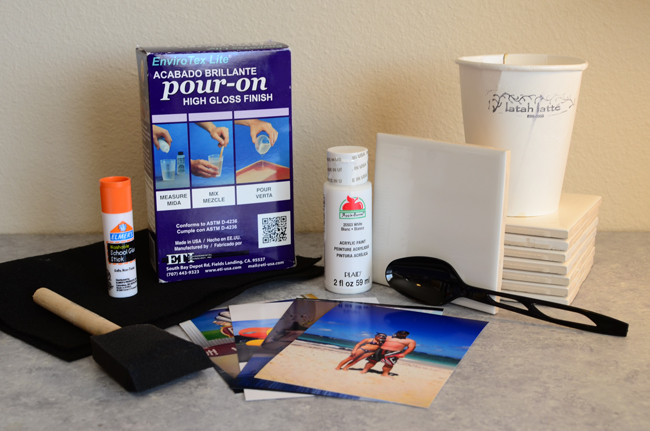
What You Need for DIY Photo Coasters
1. Resin
I prefer the two part epoxy resin. Check your local craft store- it is usually in the glue section. You do not need a lot for each coaster, so unless you are making a lot of coasters, go with the smallest bottle!
2. 4-inch White Tiles
You will need one for every coaster you wish to make. Check your local home improvement store- mine were a mere .18c each.
3. Photographs (or scanned artwork, memorabilia, etc)
They’ll be cut down to a 4 -inch square so make sure whatever you pick will look good in that format! You’ll need a favorite photo for each coaster. You may want to have extra photos printed.
4. White craft paint
5. Brush/Foam Brush
6. Glue Stick
7. Craft felt
You need one 9×12 sheet for every 6 coasters. I went with black so that it doesn’t show any stains that might get on the bottom of your coasters due to everyday use. You can also cut smaller squares for each corner to create felt pads.
8. A disposable cup and spoon
Reuse some of those coffee cups- the paper cups with no ridges works the best.
9. A well-ventilated area away from small children and pets.
Resin is a very toxic substance- please make sure you are working in a well ventilated area where you will not be disturbed by any children or pets.
Each brand of resin is different, so read the directions that come with your resin thoroughly. I will provide plenty of tips for working with resin, but be sure to follow the directions that came with your bottle.
Don’t be intimidated. It is very easy to work with and once you see the wonderful, professional-looking results you can achieve with it, you’ll be hooked.
Once you’ve gathered all your ingredients and cracked open a window, let’s get started.
How to Make DIY Photo Coasters
Cover your work surface to protect it from the paint and resin. Re-using plastic bags works best because if something sticks it’s easier to pull it off of the plastic bag than it is to pull it off of paper.
Step 1: Paint the edges of the tiles
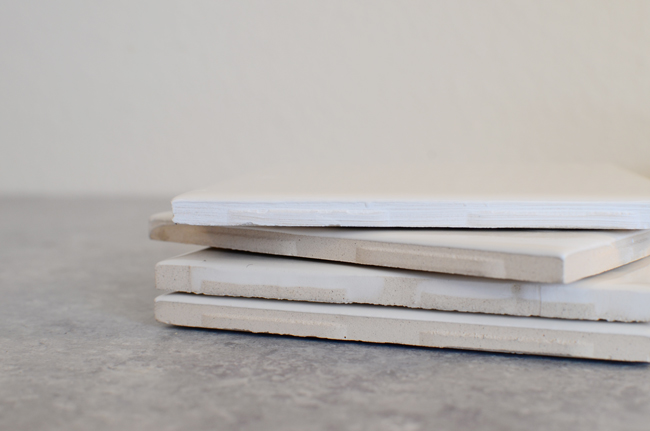
Paint the edges of your tiles with the white paint. This step is optional, however, I think it makes the final product look more professional. In the photo, you can see that the top one is painted and the bottom three aren’t.
Step 2: Trim your photos down for your DIY photo coasters
Since, it won’t take too long to wait for the painted edges to dry, you should trim your photographs down. I trimmed mine down to about 4x4in (Just under 3.875 x 3.875) You don’t want your photos to go to the edge of the tile- you want them to be about 1/4 of an inch smaller than the tile. You want to ensure that the resin will fully seal the photograph down to the tile.
Step 3: Glue photos to center of tile
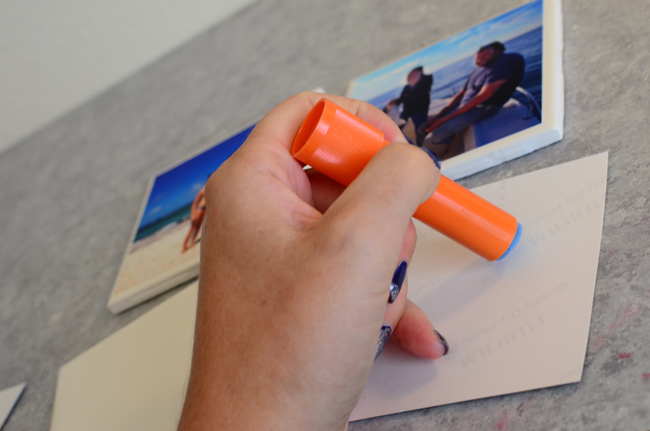
Next, Use a glue stick to glue the photographs to the center of each tile. Make sure you press down firmly. Set aside to dry.
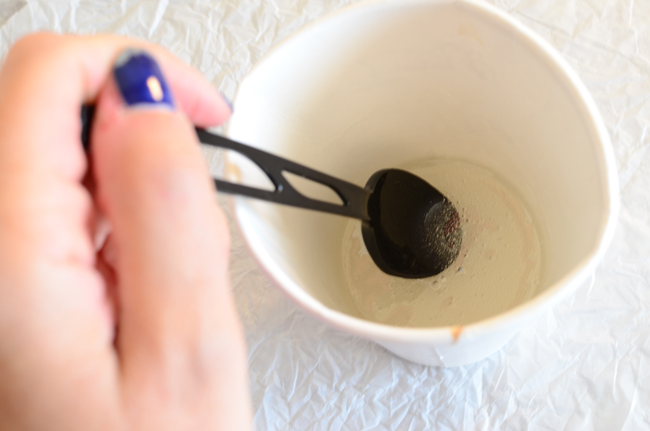
Step 4: Prepare the resin
While the tiles are drying, begin to prepare your resin.
If you bought the two part epoxy resin, you need to mix together these two parts. These parts must be mixed in equal proportions in order for the resin to harden properly. I use a plastic teaspoon to do my measuring- you’re going to want something disposable.
Each coaster will need about 2 teaspoons of resin to cover them, so for 4 coasters, I measured out 4 teaspoons of part one of the resin and 4 teaspoons of part two of the resin.
Stir the resin together. Set a timer and stir for a minimum of 2 minutes. Stir like you are whipping eggs, pausing every 30 seconds or so to scrape down the edges and bottom well. You really want to ensure that this is mixed well.
If you are stirring properly, lots of little tiny bubbles will appear- don’t worry, they’ll come out later!
Step 5: Spoon out resin onto your DIY photo coasters
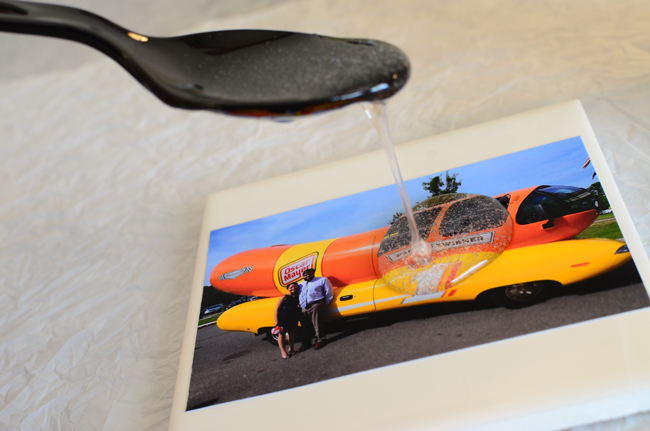
After you are done stirring, line up your tiles on your covered work surface and get ready to make some magic. Carefully, spoon out one teaspoon of resin and pour it gently in the middle of the tile. Next, pour a second teaspoon right on top of the first. Then using your spoon, very gently push the resin outward to the edge of the tile. You need an even coat of resin from edge to edge, stopping just a hair shy of the edge of the tile.
Step 6: Repeat for each tile
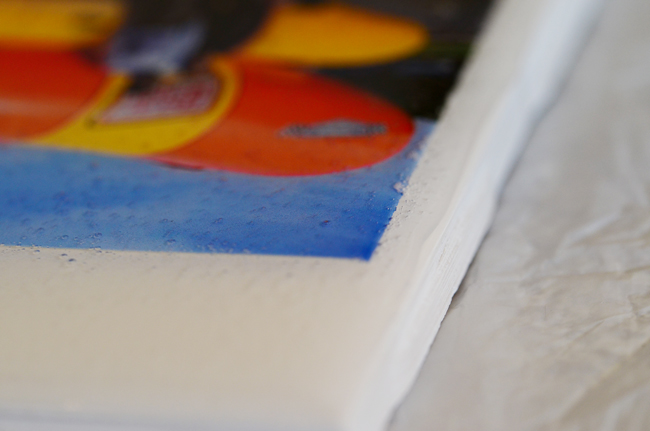
Repeat for each tile. When completed, take a flashlight, get down low and examine each tile to make sure that you didn’t miss any spots.
Step 7: Get rid of the little bubbles
If you have little bubbles take a deep breath and slowly exhale your hot breath over each tile. The carbon dioxide will help pop all of those little bubbles. Please make sure you turn away from the tiles before inhaling again though. You don’t want to breathe in the resin. Repeat as necessary to remove all the bubbles from your coasters.
Step 8: Wait for them to dry
Now you must wait patiently for the tiles to dry. For a thin coat such as this, it will take between 48-72 hours for a full cure. Within 24 hours you should be able to handle them. However, we recommend to wait the recommended time to insure they are completely dry and you don’t leave any dings on your photo coasters.
Step 9: Glue felt to the bottom of your tile coasters
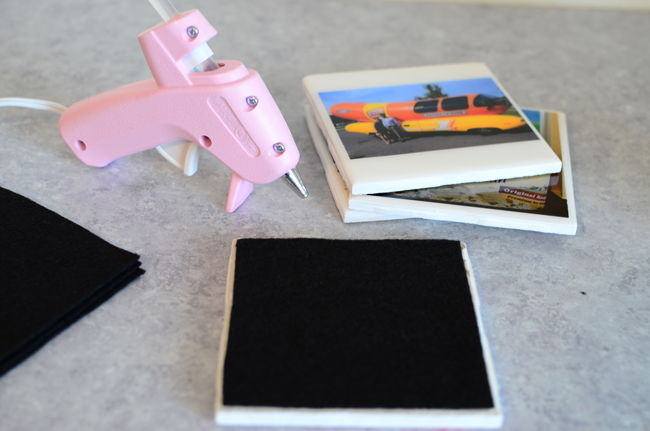
Next, glue felt to the bottom of them to help protect your table. Cut felt into 4-inch squares and hot glue to the bottom of each coaster.
Step 10: Enjoy your photo coasters
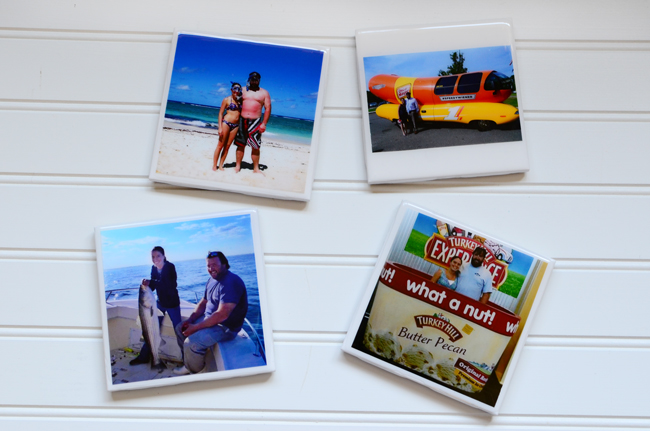
Package them up, give them as gifts, or put them to good use in your own home. The tile coasters above are going to be an engagement gift for a friend. The resin is tough and protects your photos well. It also makes for easy clean up- just wipe them off with a damp cloth if they get any stains on them.
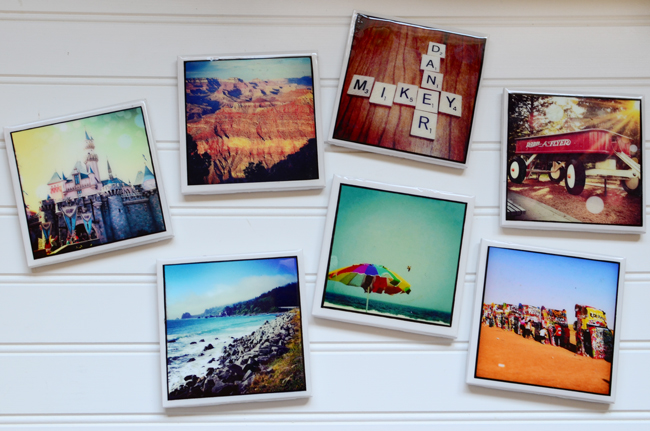
Here’s the set I made almost 2 years ago – I’d say they held up well! They still look as good as the day I made them!
Read more photo gift projects
– 26 unique photo gifts ideas
– DIY picture frame clothesline
–8 Easy to Make Photo Gift Ideas for Everyone in Your Life
The post How to Make DIY Photo Coasters appeared first on Click it Up a Notch®.